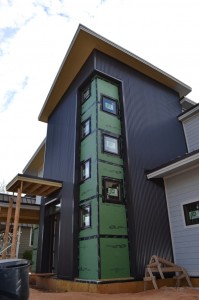
Things are really moving along on the Proud Green Home at Serenbe. This past Friday, the mechanical inspector paid a visit and we passed! Ahead this week; the builder has ordered the final plumbing inspection, the sprayfoam contractor is installing the open-cell foam in all the walls and roof, we will be performing the pre-drywall inspection for andtifications, and we will be hosting a construction tour of the home with the builder. If you're in the Atlanta area this Wednesday, please stop by! We'd love to show you around.
For those of you who can't make it, here are photos from the installation of the heating, ventilation and air conditioning systems that just passed the rough-in inspection last week. VIS VIVA Energy and Services, a local contractor who have successfully installed many of our, installed all of the systems. Vis Viva is also providing the additional air sealing services and installing the spray foam for the home.
As mentioned in a previous post, the home will be heated and cooled by the Ducted Mini-Split Heat Pump system (a.k.a. Variable Refrigerant Flow, VRF) by LG Electronics, and fresh air will be provided throughout the home by Zehnder America. Feel free to check out Zehnder America's video on how their systems work, narrated by a guy with a great German accent!
Design Summary:
- Design per ACCA Manual J, S, T and D, and ASHRAE 62.2
- Home: 2,700 Square Feet, 4 Bedrooms, 3.5 Baths
- Design Temperatures: Heating - 26°F, Cooling - 91.5°F
- Heating Load (99%): 22,700 Btuh
- Cooling Load (1%): 18,960 Btuh (Sensible), 2,400 Btuh (Latent)
Heating and Cooling Equipment Summary:
- Manufacturer: LG Electronics, HVAC Division
- Outdoor Heat Pump Unit: Multi-V Mini VRF
- Indoor Fan Coil: Ceiling Concealed Ducted, High Static
Ventilation Equipment Summary:
- Manufuacturer: Zehnder America
- ERV: ComfoAir 350 Luxe Ventilation System, ERV option
The Installation
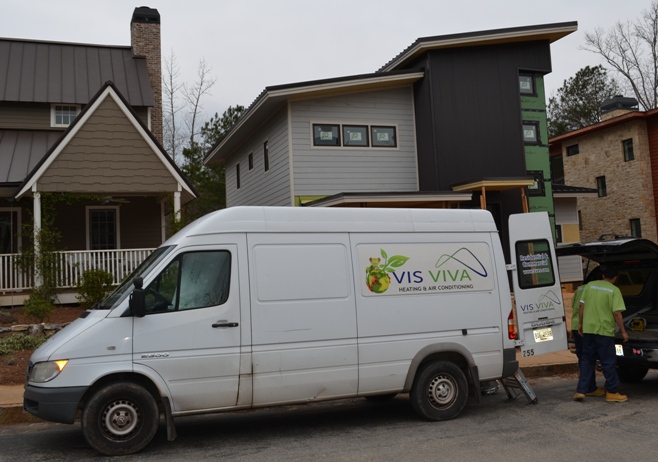
The HVAC Contractor, VIS VIVA Energy and Services, showing up for duty, SIR!
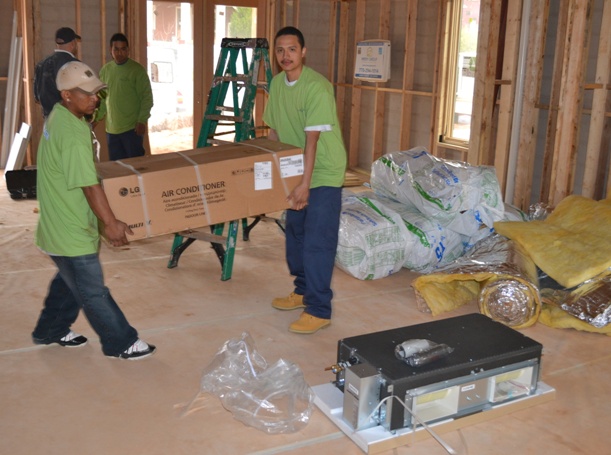
Hauling in the concealed ducted fan coils, and Lance Beaton (Owner, VIS VIVA) in the background "making a plan" with his crew chief, Julio.
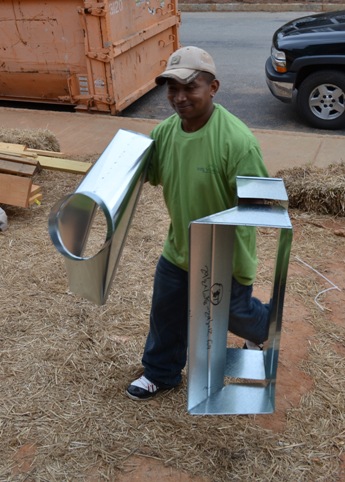
One of VIS VIVA's crew bringing in a couple of the custom supply and return plenum transition pieces.
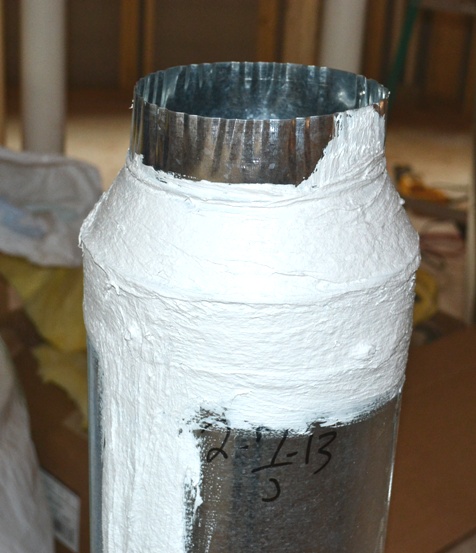
Our specifications call for a maximum tested duct leakage of 2% (or 2 cfm per 100 s.f. of conditioned floor area). A liberal use of mastic is a really good way of achieving that. Here is one of many connections showing the mastic at least "a nickel thick". VIS VIVA has consistently been delivering 2%, or less, duct leaking on recent jobs. Well done!
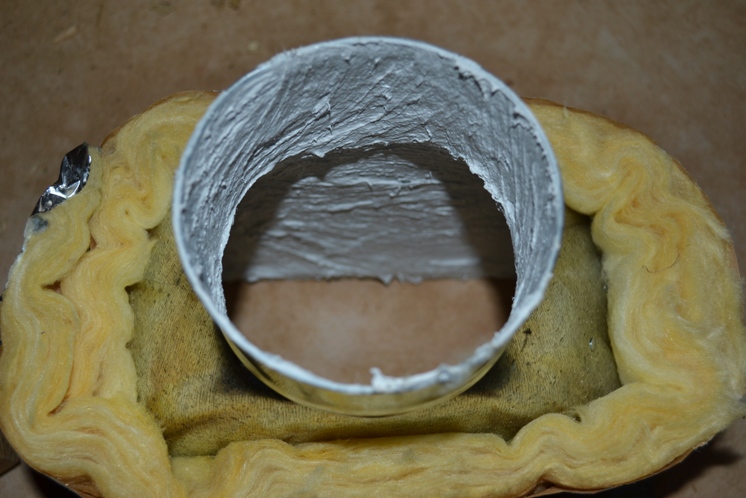
Here is a shot inside one of the supply register boots. Now THAT is what I call a "liberal" amount mastic!!
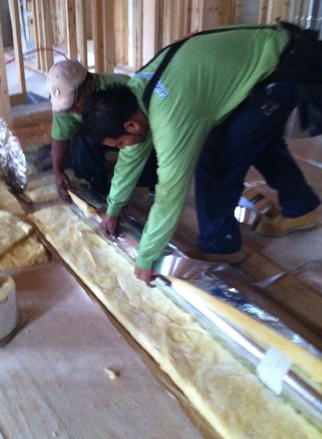
Julio and the fellas insulating one of the main supply take-offs, and doing a neat and tidy job of it. Very snug!
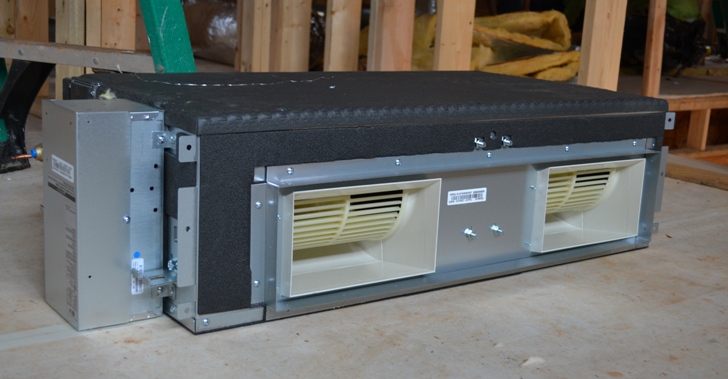
Here is one of the three concealed ducted fan coils being used to serve three separate zones in the home. This one, a 9,000 Btuh capacity unit, will serve the entire second floor where we have 3 bedrooms, 2 bathrooms and a flex space.
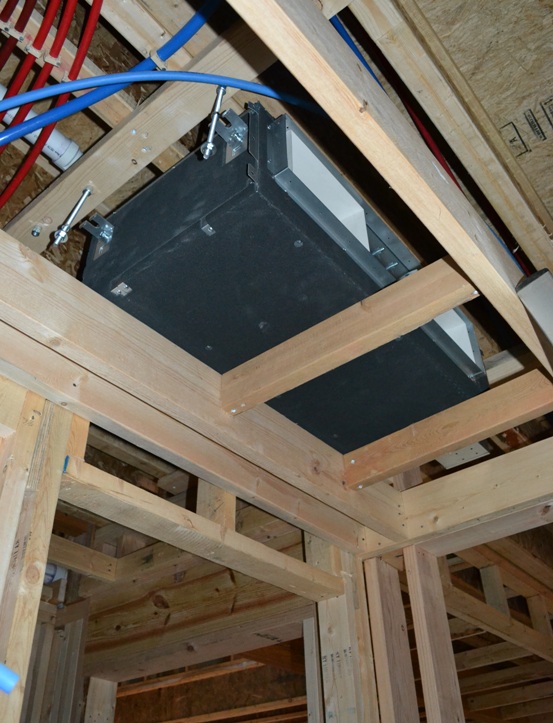
Here is the 12,000 Btuh fan coil serving the main living area, kitchen, dining and foyer. It's being installed in a dropped ceiling area in a small alcove just outside the Laundry Room. Vertical clearance for these units is 12". Transitions allow the plenums to deliver or return adequate air flow to and from the unit.
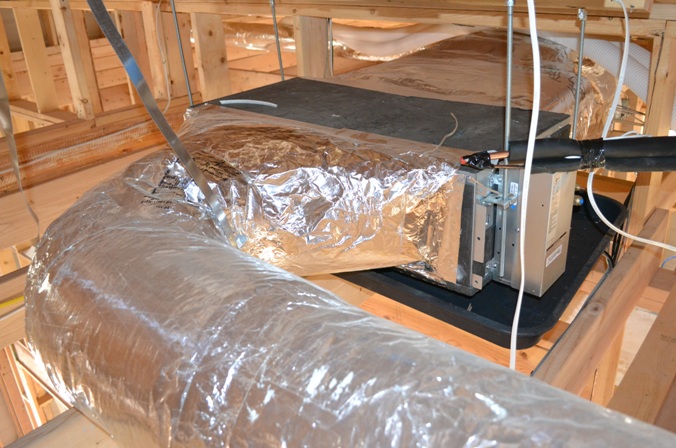
The upstairs unit in the encapsulated attic with the refrigerant lines ready to be attached. All ductwork was insulated to a minimum R-6.
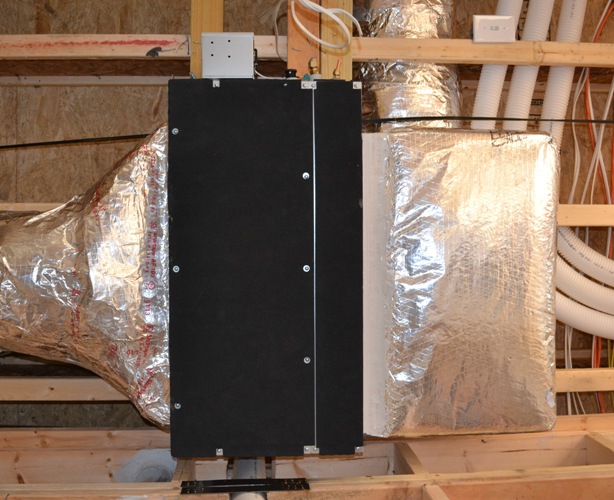
The third ducted unit in the Master Suite. It will be installed like the one serving the main living area between the floor joists and dropped ceiling framing in the His Closet of the Master Bedroom.
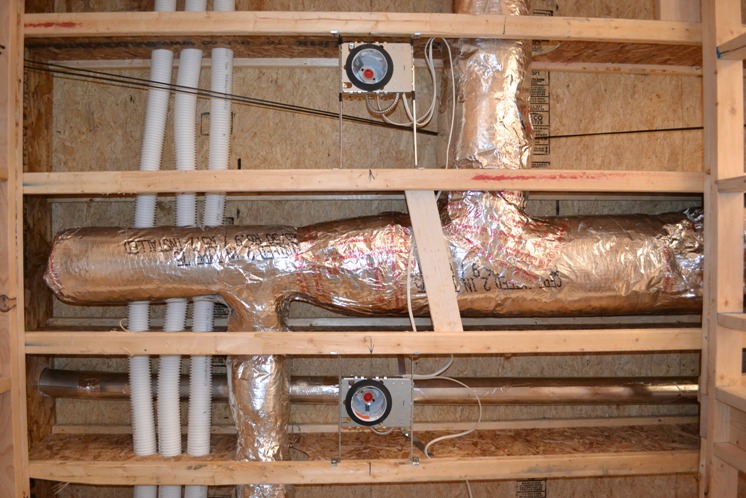
Ductwork installed withing the floor structure using ACCA Manual D Duct Design methods. The 2'-0" extension helps build up static pressure in the duct system for better air flow and delivery.
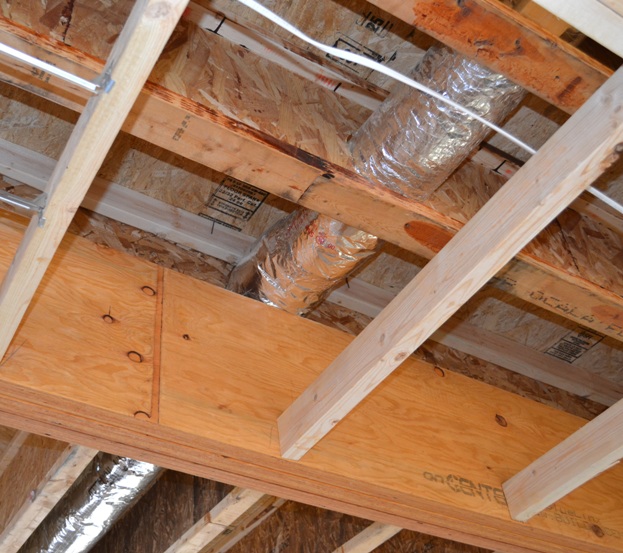
When we designed the house, it structural system, and the HVAC system, we lowered beams where we needed to allow the routing of ductwork. We used this as an opportunity to break up the open interior spaces (visually) of the main living, kitchen and dining areas. Normally the beam would be flush with the top of the floor joists, but planning ahead allowed all of it to work together. Win, win, win!
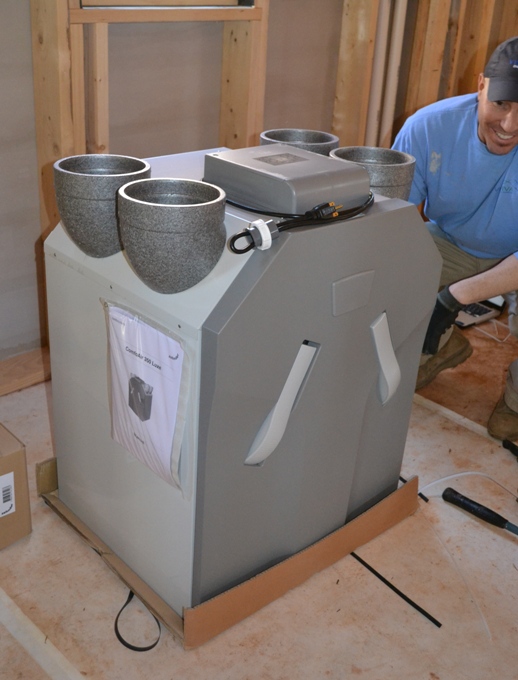
The main exchanger (or dampener) of the ComfoAir 350 ventilation system getting ready for set up and install. That's Lance Beaton (Owner, VIS VIVA) laughing at me for trying to pick it up and put it in the attic without any help...show off!!
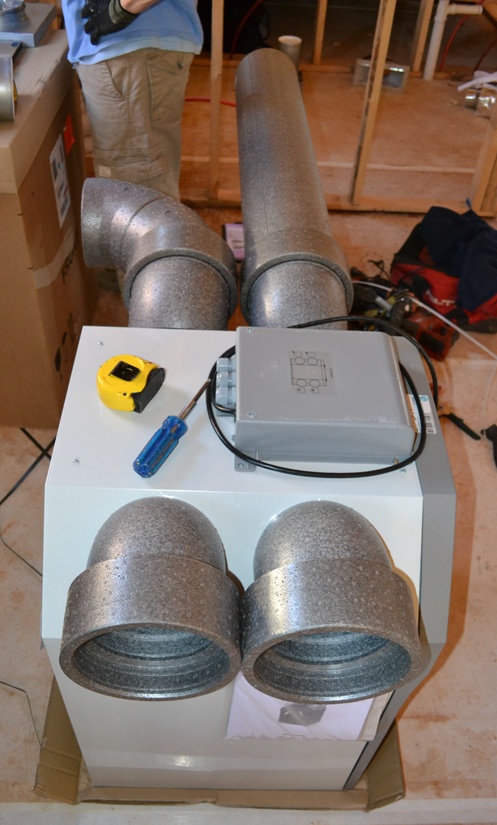
In this exchanger, the "magic" happens. Fresh air comes in, it flows by air being exhaused from the house, and the fresh air stream recovers up to 90% of the heat energy from the outgoing air to pre-condition it before it enters the home. The four ports are for 1. Fresh Air intake, 2. Stale Air Intake, 3. Fresh Air Supply, and 4. Stale Air Exhaust. See the link for the video above for more on how the system works.
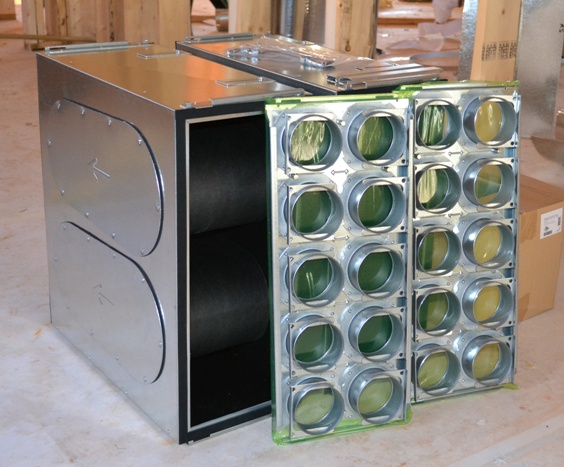
Main distribution boxes ready for assembly. One for fresh air and the other for stale air.
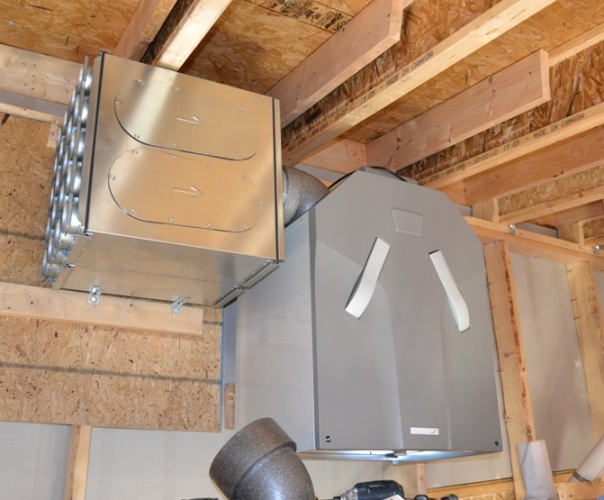
Installed on an exterior wall in the attic, the exchanger and distribution boxes are placed to allow for short runs of the main supply and exhaust ductwork. The exhaust and fresh air intake on the exterior wall will be placed a minimum of 10'-0" apart.
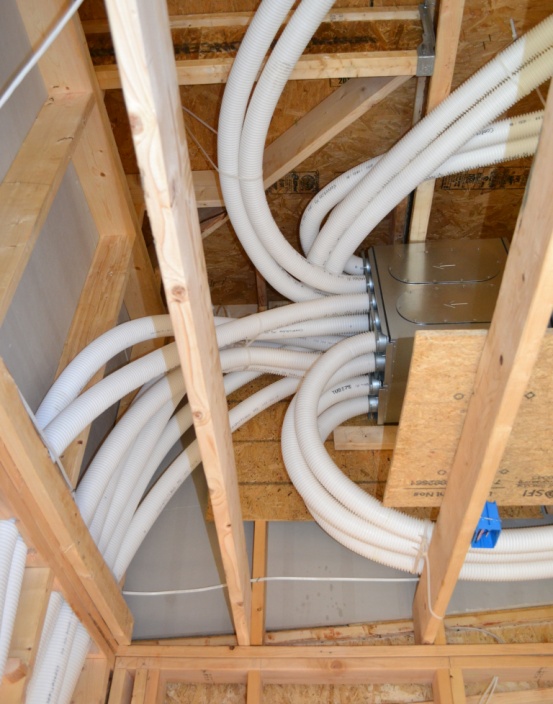
The distribution ductwork is a flexible piping with a smooth inside and ridged outside. Each of these ducts will deliver supply air or return stale air to and from the distribution boxes.
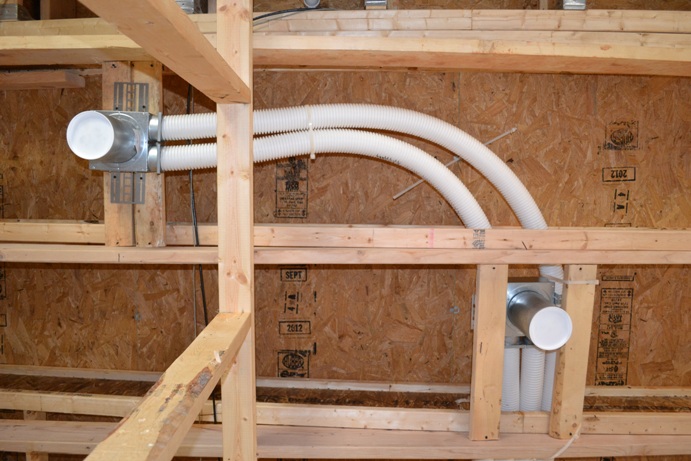
Supply and/or return boxes that are installed in each room. Once the drywall is installed the cylinders are trimmed flush and the "designer" diffuser is installed.
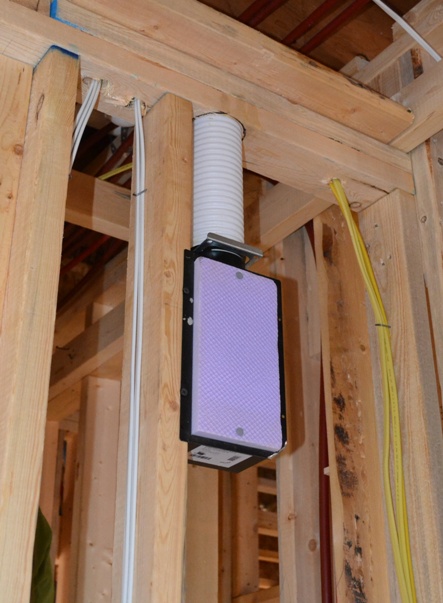
Here is another type of return box. This one has been installed in the powder bath on the side wall instead of the ceiling. A different "designer" diffuser will be installed after drywall.
That's a wrap, folks!
Until next time, thanks for tuning in and watching one of our "babies" grow up!
Please let us know what you think of the progress or the systems we chose. If you can make it to our event, we look forward to meeting you. Please come say, "hello"!
...


