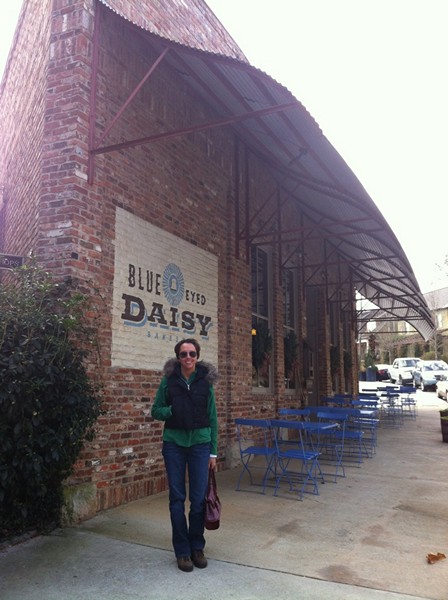
WEEK 5: Jodi and I spent a day last week at Serenbe, which included a mandatory stop at the Blue Eyed Daisy. Aside from that, our main purpose was to check-in on the construction of the Contemporary Proud Green Home being built by Luis Imery and his crew at The Imery Group, and they're moving right along! When we reported last time, the foundation had just been set and they were getting ready to pour the slab. Now, as they head in to week 6, they're getting ready to set the roof framing. Exciting!
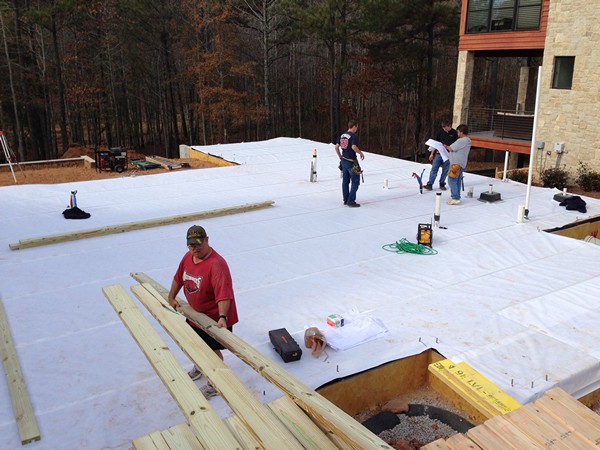
Here's the framing crew (last week) getting ready to star laying out the first floor walls after the concrete slab has been poured and has cured. The entire slab is covered with KleenWrap finish floor protection. It's always good to protect the concrete surface during construction, particularly if your going to use that surface as a finish (stained concrete), like we are here.
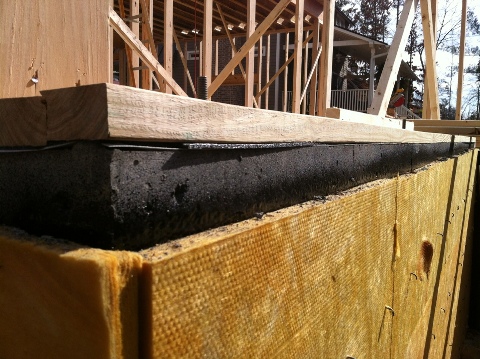
After the stem walls and slab were poured, the Tremco Tuff-N-Dri XTS waterproofing and insulation system, which consists of a damproofing layer , then a 1+ inch layer of rigid fiberglass insulation on the outside face of the foundation. The complete system protects the foundation from heat loss and moisture intrusion. The insulation does not continue to the top of the wall to allow for air sealing on the outside of the wall. We're going to be applying ZIP System Tape continuously around the bottom and top plates, as well as every stud-to-stud location.
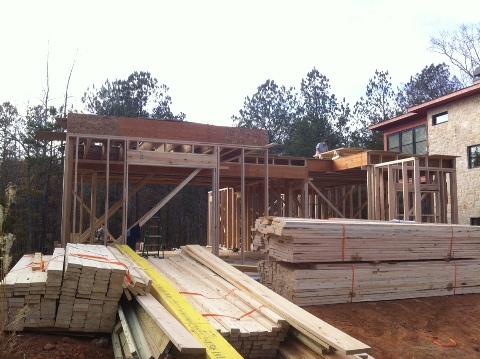
Here is a view of the home from the street. As you can see, the first floor framing is mostly finished, and they're up on the second floor finishing up the Advantech floor sheathing. The opening to the left will be a set of doors on to the front porch, and the area just to the right is the 2-story foyer that shows up as a "tower" when you look at the elevations.
Also, notice all the framing material is 2x6. We will be framing the walls at 24" o.c. to reduce the amount of thermal bridging, reduce the amount of material used, and still maintain structural integrity. This is just one of many Advanced framing techniques that we'll talk about later. The bigger studs also allows for a deeper insulation cavity. In our case, we'll be completely filling the cavities with open-cell spray foam from BASF to the RESNET, Grade I Standard
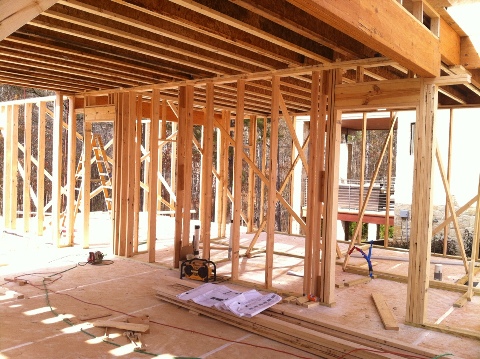
Here is a view from just inside the front door, standing in the dining room looking through the living room and toward the Master Bedroom. To the right of where I'm standing, there will be a two-story foyer with the main stair leading to the second floor.
If you look in the upper right corner of the image, you'll notice the beam has been dropped approximately 8" to allow for ductwork to deliver air in to the two story space and the dining room where I'm standing. We were able to anticipate the need for this and make accommodations in the structural and architectural design because we simultaneously designed the HVAC system at the same time.
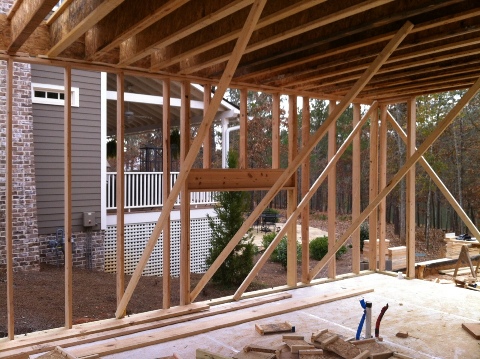
Here's a view toward the kitchen. You can begin to see the 24" o.c. spacing of the framing, and the structural header is pushed to the outside of the wall to allow for insulation on the inside. This is anther advanced framing technique to reduce thermal bridging. The window there will fit below the upper cabinetry and just above the counter-top.
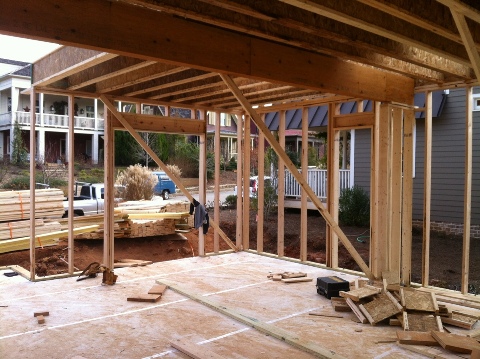
Looking back through the dining room toward the front of the house and from the living room.
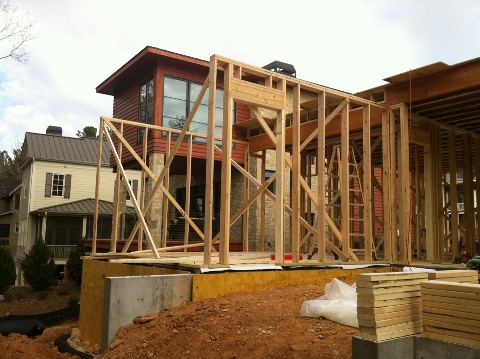
Here is a view from the back of the home looking at what will be a two-story space in the Master Bedroom properly shaded windows to give a view of the protected wooded area and lake (see photo below). Immediately to the right of where I'm standing is where the outdoor patio will be. Like everything else on this side of the house, it will be shaded to reduce the solar gain on this west side of the home.
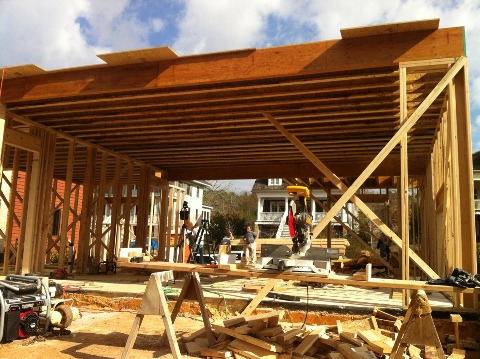
Looking over the outdoor patio and in to the kitchen, living, dining and entry areas. This is a good view of the open floor plan. This wall will have 4 sets of french doors that will open to the patio.
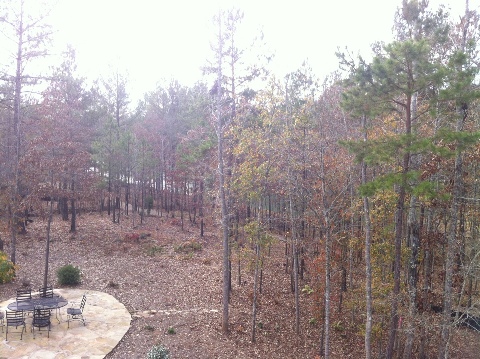
A view from the second floor toward the lake at Serenbe.
We'll be back with more from the field soon...
...


